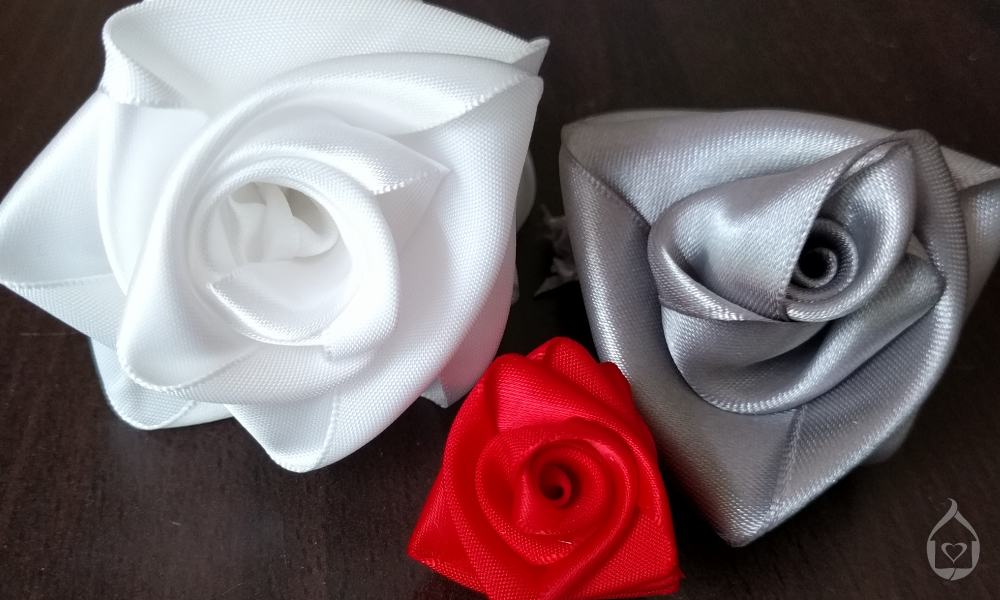
Roses for Mother

These satin rose ribbons are fun for older children to make and look great on top of a beautifully wrapped gift or on the breakfast tray on Mother’s Day! Alternatively, string them together to make a special family rosary ribbon chain and save it for use on Marian feast days.
For another great look, try making them with ribbons of burlap.
Roses and Our Lady
The Rosary means ‘crown of roses’ and it is said that each time we pray a decade of the Rosary, we add a rose to Mary’s crown. Different colour roses are associated with different qualities of Mary – white is for her purity, red for her sorrow, and gold for her glory.
Here’s how we made our Mother’s Day Ribbon Roses:
Materials:
- 1x reel of ribbon 2 cm (1 in) wide for small roses
- 1x reel of ribbon 4 cm (2 in) wide for larger roses
- OPTIONAL: Strips of Burlap or Lace at least 50 cm (2 ft) long
- Scissors
Method:
Step 1:
Take your reel and pull out roughly 40cms (1 ft 4 in) of ribbon but don’t cut it off.
About 5cm (2 in) from the end, make a back-to-front L shape with the ribbon by folding as illustrated:
Step 2:
Turn the ribbon 90 degrees clockwise to make the L face the right way, and then make another right-angle fold by folding the ribbon on the reel side upwards towards you, as illustrated:
Keep a small gap between the two sides of the U you now have.
Step 3:
Turn your work 90 degrees clockwise again and make an identical fold to the last one, to complete a square. Again, keep a small gap in the centre.
Step 4:
You might have to pick up and hold your work firmly between your fingers to keep it together. Turn it clockwise again and do a second layer of folded ribbon in the same way, keeping the gap in the centre.
Keep going until you have four layers of folded ribbon.
Step 5:
Cut your ribbon from the reel, leaving 5 or 6cms (2-2.5 in) free at the reel end. Fold this back on itself and tuck it into the gap in the centre. Pull it through and out the bottom a little way (not too much).
Step 6:
Holding your folded work securely, gently start twisting the end you pulled through anti-clockwise.
Release your rose petals as they curl up layer by layer. Be careful so your rose doesn’t unravel.
Step 7:
Tie together your two ends at the bottom, trim them if necessary, and use your rose however you like!
More Roses For Mother Ideas…

